> ## Documentation Index
> Fetch the complete documentation index at: https://checkly-422f444a-tim-status-page-v3-theme-colors.mintlify.site/llms.txt
> Use this file to discover all available pages before exploring further.
# Send Alerts to Opsgenie
> Learn how to integrate Checkly with Opsgenie and deliver failure, degradation, and recovery events to any Opsgenie team
Checkly integrates with [Opsgenie](https://opsgenie.com) and can deliver failure, degradation, and recovery events
to any Opsgenie team. You can add as many Opsgenie channels as you wish. After setting up the integration, Checkly will:
1. Create an alert in Opsgenie when a check fails.
2. Send the most recent result details when a check degrades.
3. Resolve alerts when a check recovers.
**To get started, take the following steps:**
1. First, you will need to create an **API integration** in Opsgenie.
Log in to your Opsgenie account, and determine which region you are using. At the moment Opsgenie offers
two [regions:](https://docs.opsgenie.com/docs/european-service-region) `US` and `EU`.
> 💡 If your Opsgenie URL looks something like [https://app.eu.opsgenie.com](https://app.eu.opsgenie.com),
> you are using the `EU` region.
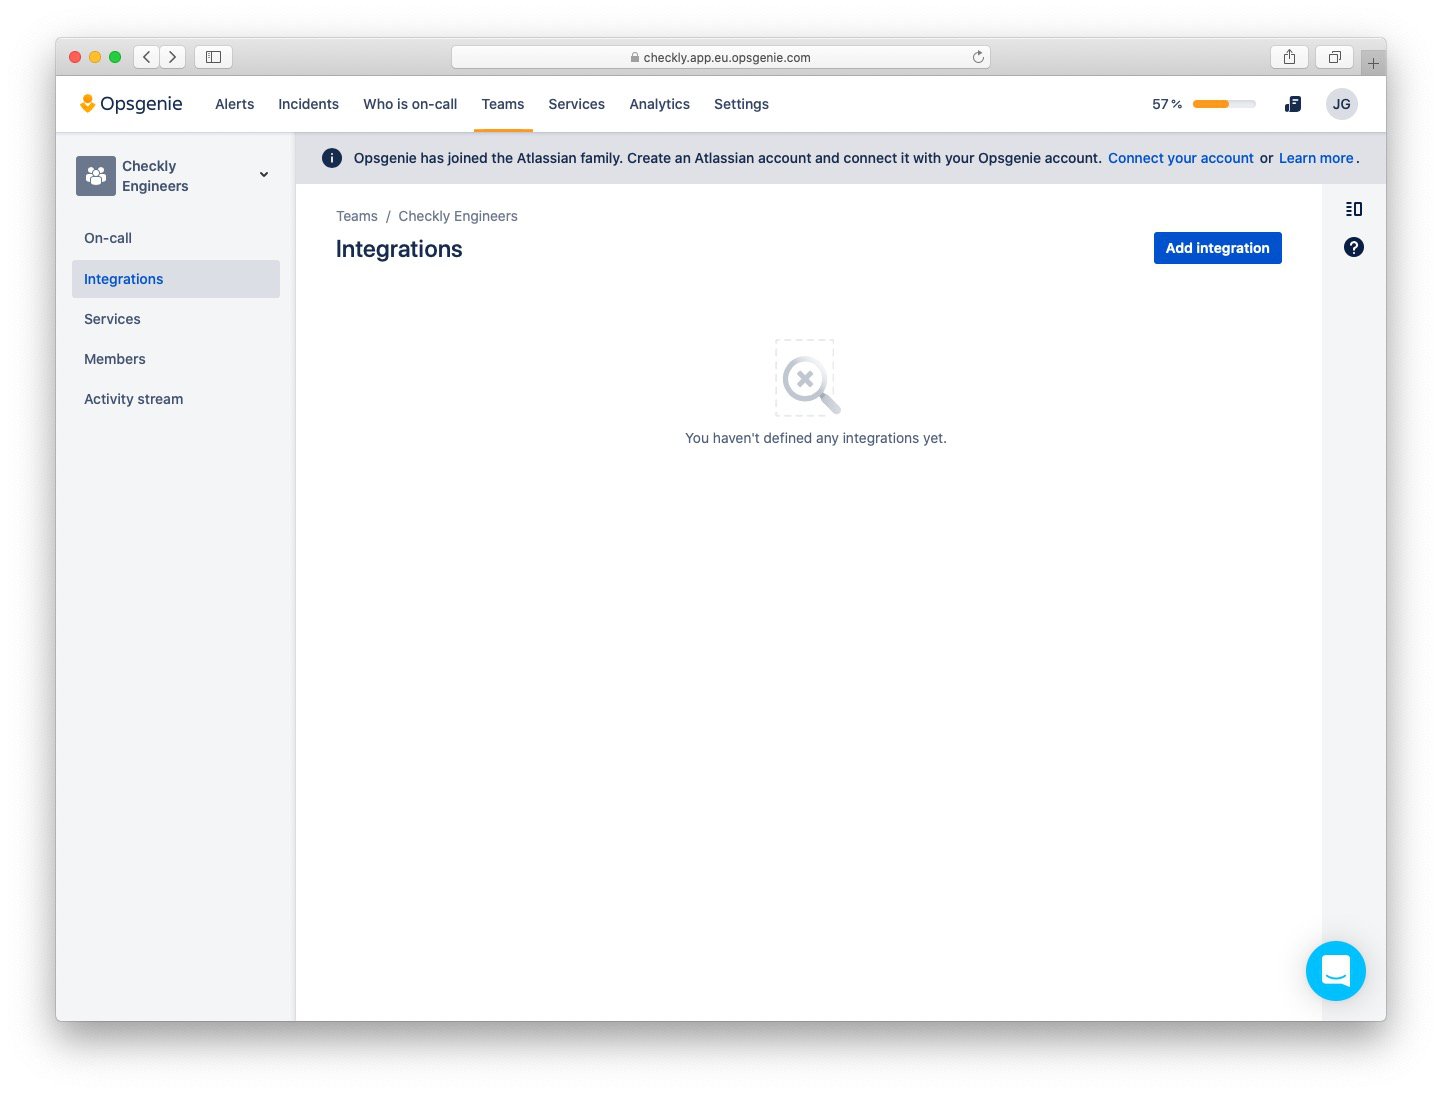
Go to the **Teams** tab and choose a team you want to integrate with Checkly,
then navigate to your team's **Integrations** tab and click the "Add integration" button.
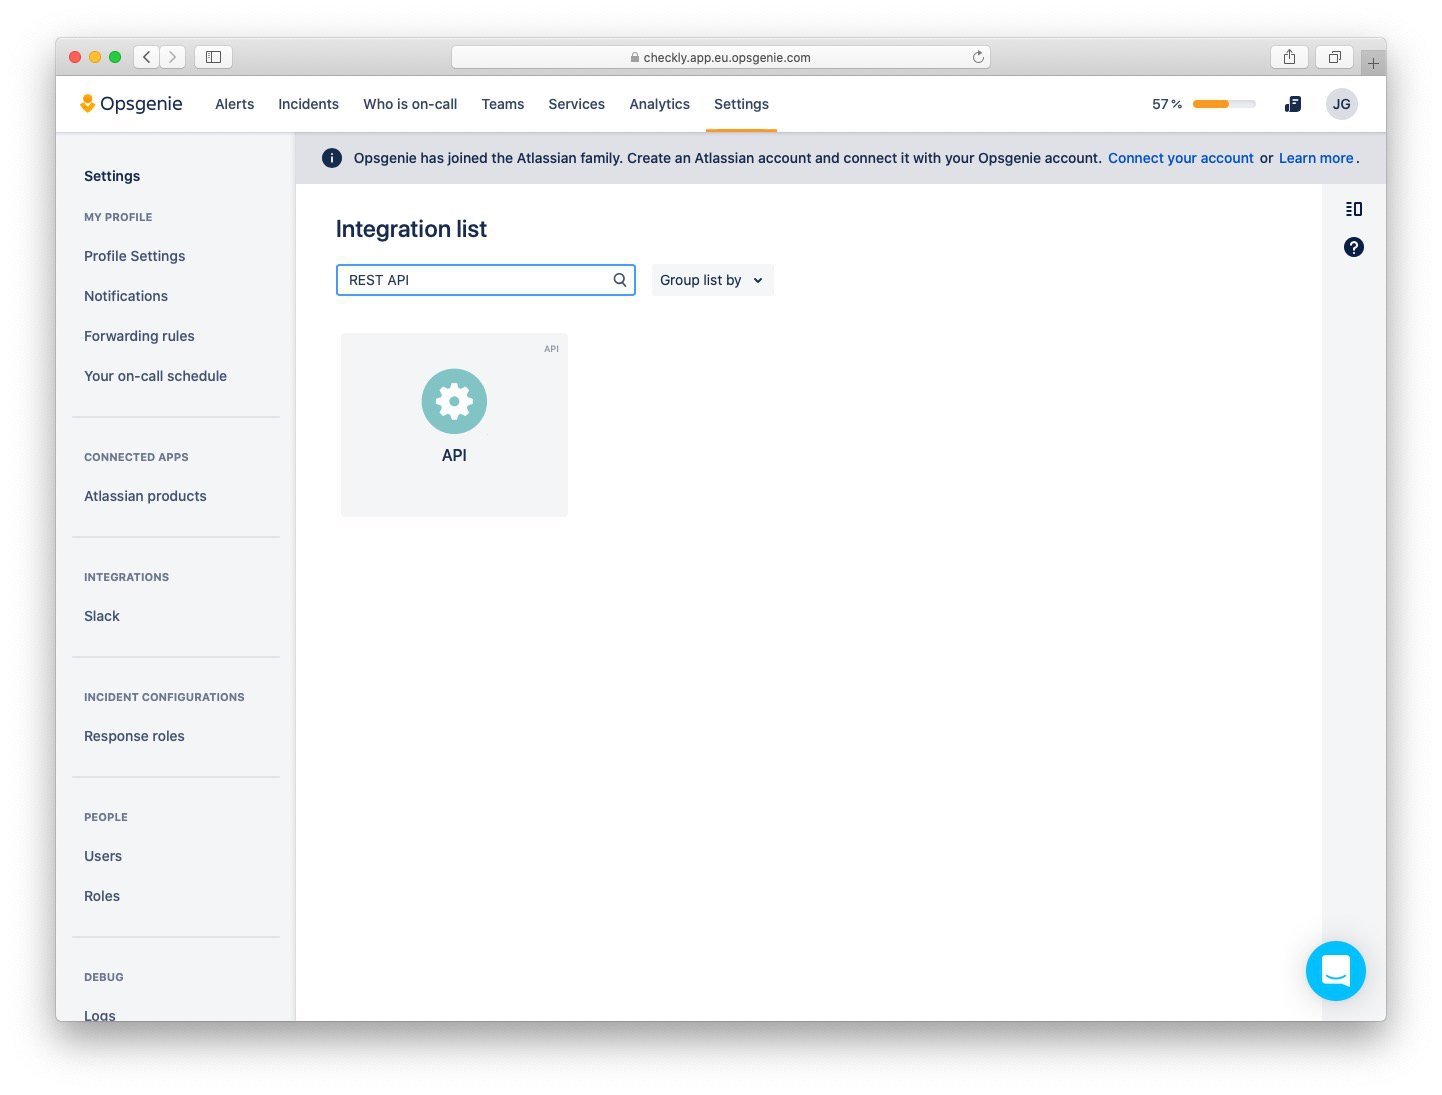
 2. Select the **API** integration from the list of integrations available in Opsgenie.
> 💡 You can use the `REST API` query in the search box, to quickly find the **API** integration.
2. Select the **API** integration from the list of integrations available in Opsgenie.
> 💡 You can use the `REST API` query in the search box, to quickly find the **API** integration.
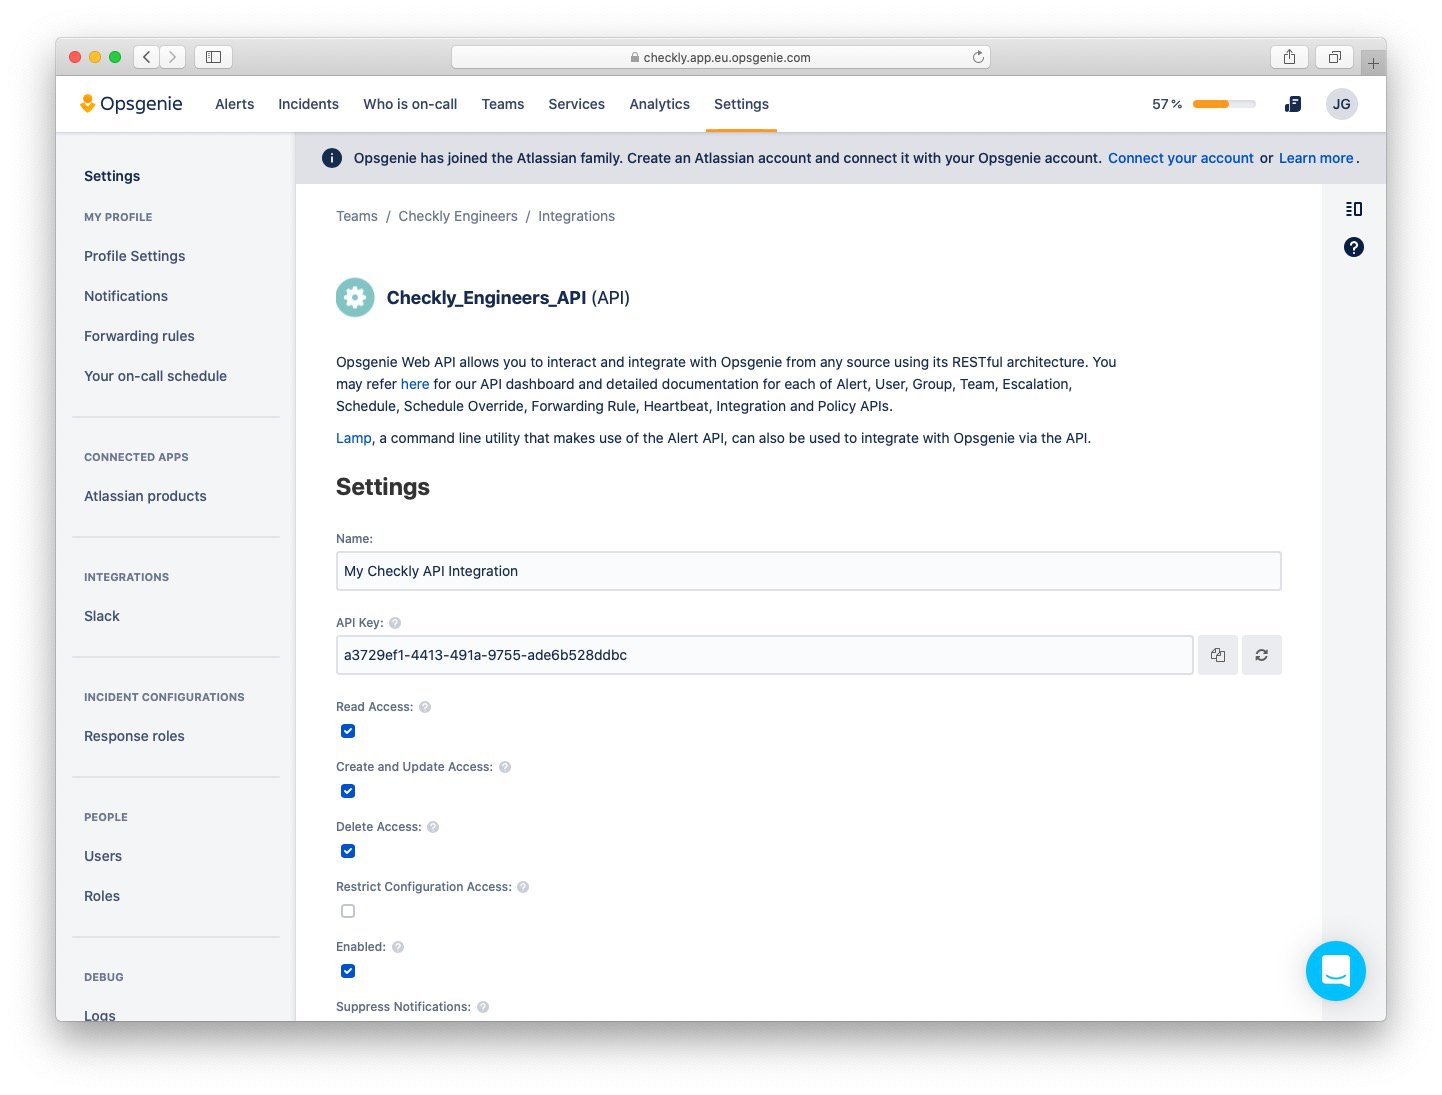
 3. Choose a name for your integration, copy the **API Key** and click "Save Integration" at the bottom of the screen to
save your changes.\\
3. Choose a name for your integration, copy the **API Key** and click "Save Integration" at the bottom of the screen to
save your changes.\\
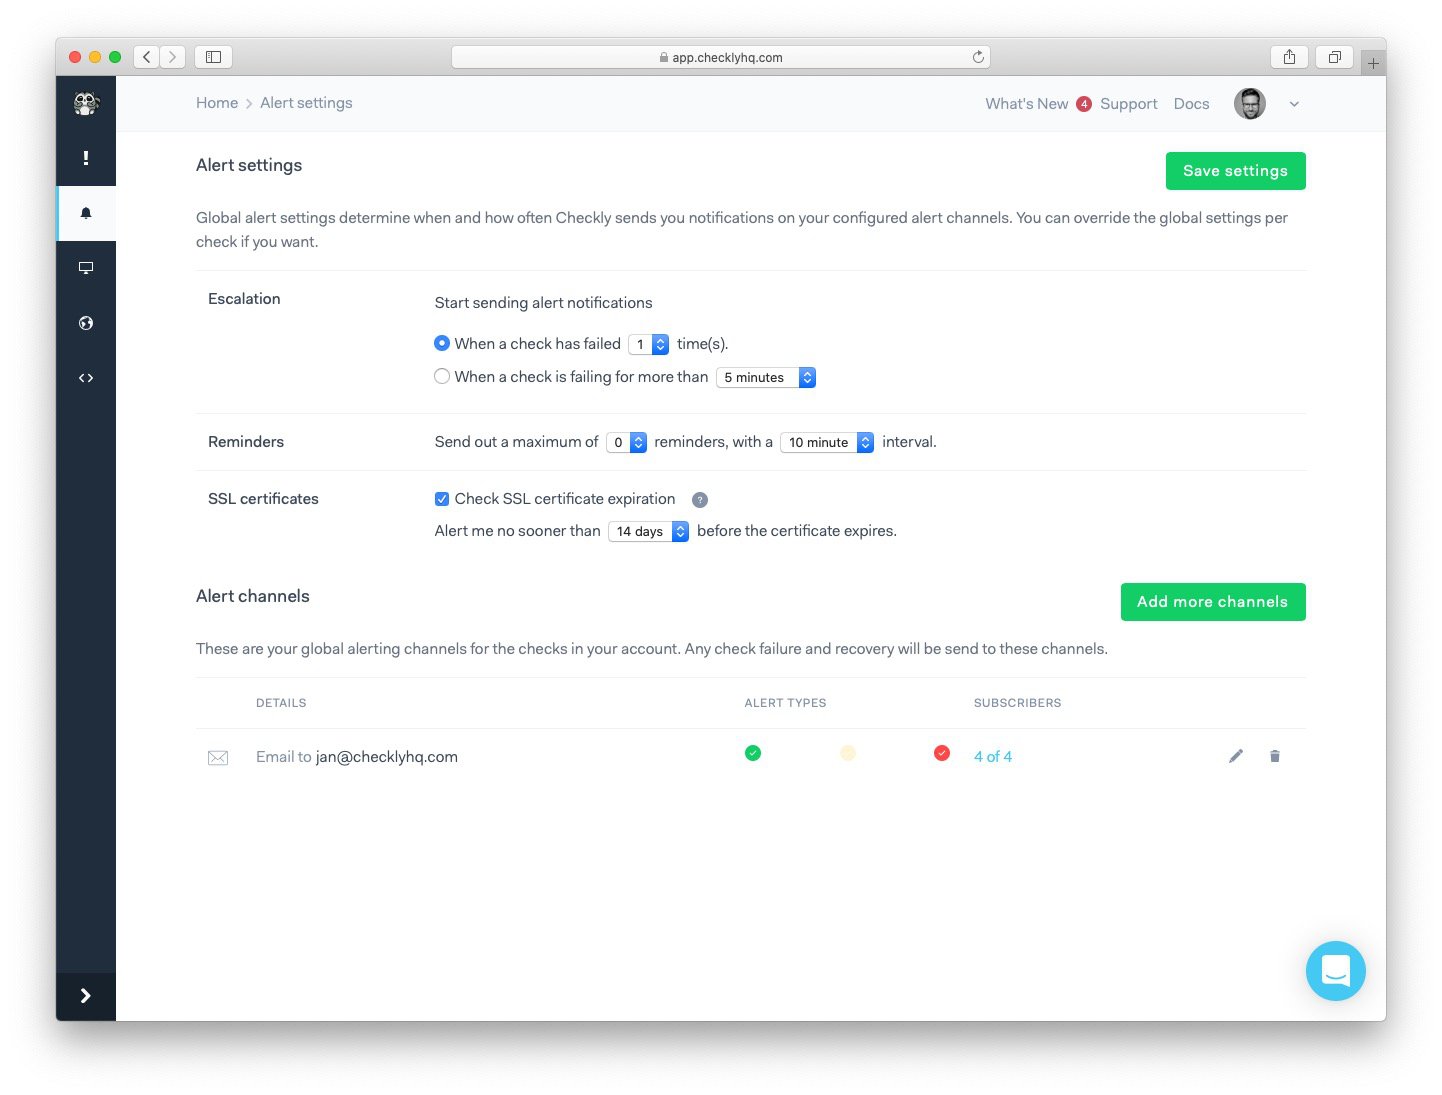
 4. Log in to Checkly and navigate to [Alert Settings](https://app.checklyhq.com/alert-settings/).
Click the "Add more channels" button, find Opsgenie on the list, and click "Add channel" next to it to
create a new Opsgenie channel.
4. Log in to Checkly and navigate to [Alert Settings](https://app.checklyhq.com/alert-settings/).
Click the "Add more channels" button, find Opsgenie on the list, and click "Add channel" next to it to
create a new Opsgenie channel.
 5. Choose a name for your Opsgenie channel, paste your **API Key** and select your Opsgenie region (`EU` for EU based
customers, `US` for the rest of the world).
> 💡 In OpsGenie you can configure other options like
> [alert priority](https://docs.opsgenie.com/docs/alert-priority-settings).
> 💡 On Checkly, you can specify which [check events](/communicate/alerts/channels) will be sent over to Opsgenie.
5. Choose a name for your Opsgenie channel, paste your **API Key** and select your Opsgenie region (`EU` for EU based
customers, `US` for the rest of the world).
> 💡 In OpsGenie you can configure other options like
> [alert priority](https://docs.opsgenie.com/docs/alert-priority-settings).
> 💡 On Checkly, you can specify which [check events](/communicate/alerts/channels) will be sent over to Opsgenie.
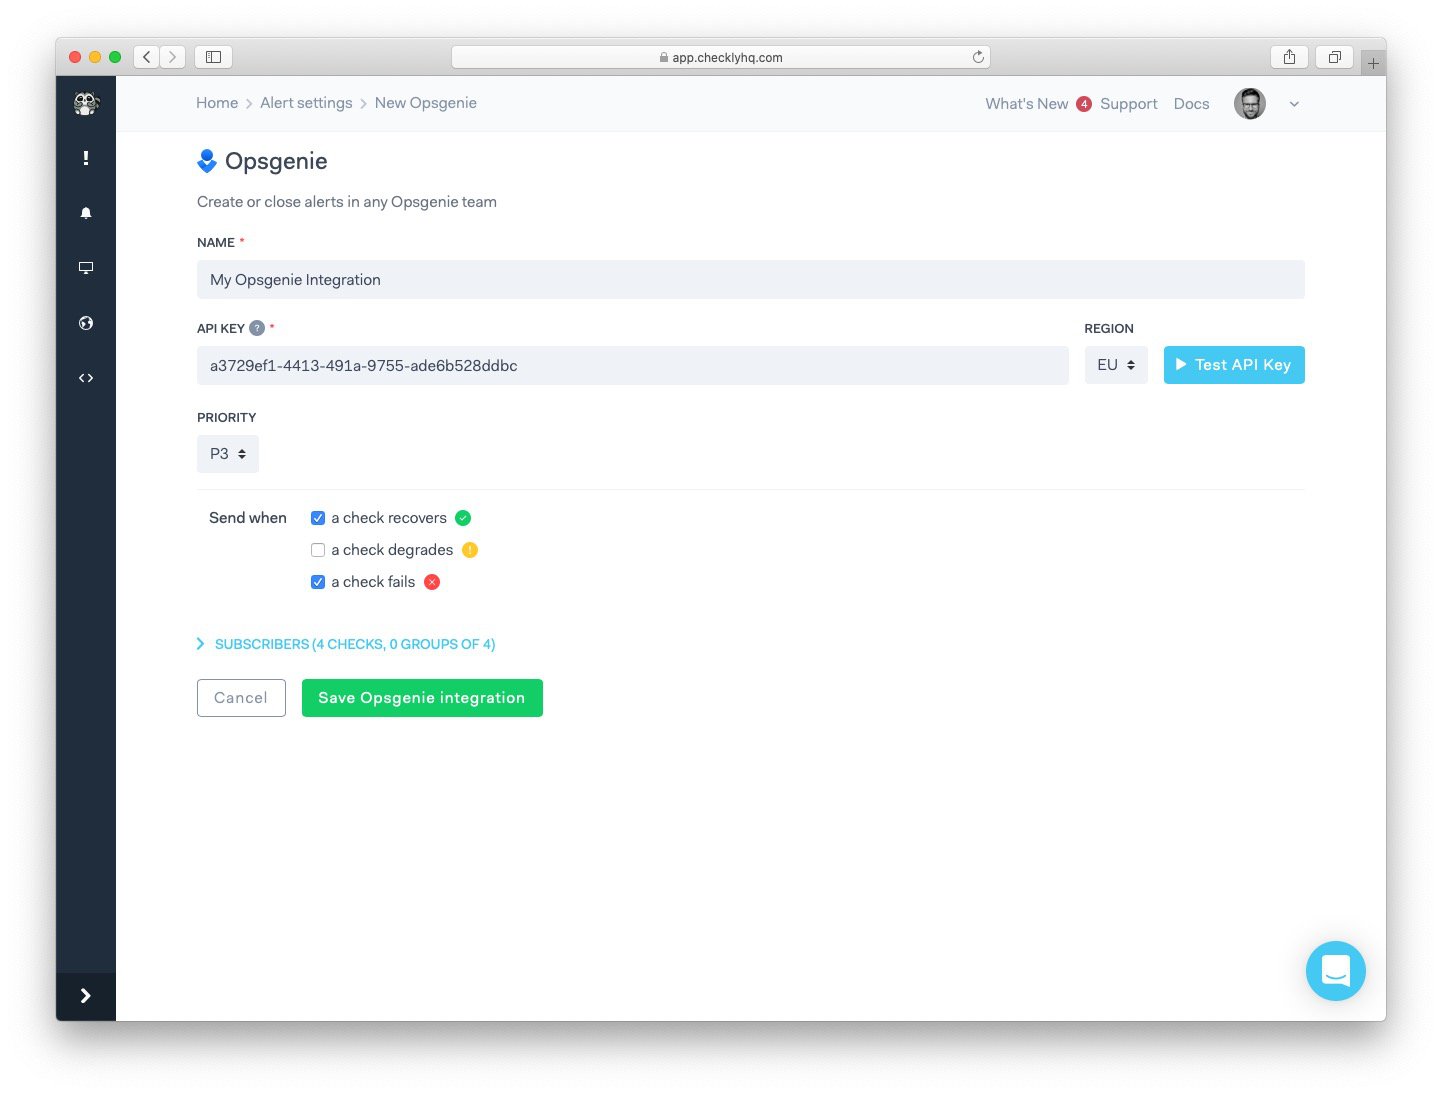 6. You can click the "Test API Key" button to test your integration, if everything is correct you should see a test
alert created on your Opsgenie dashboard.
**To finish the setup process**, back in Checkly click the "Save Opsgenie integration" button.
6. You can click the "Test API Key" button to test your integration, if everything is correct you should see a test
alert created on your Opsgenie dashboard.
**To finish the setup process**, back in Checkly click the "Save Opsgenie integration" button.
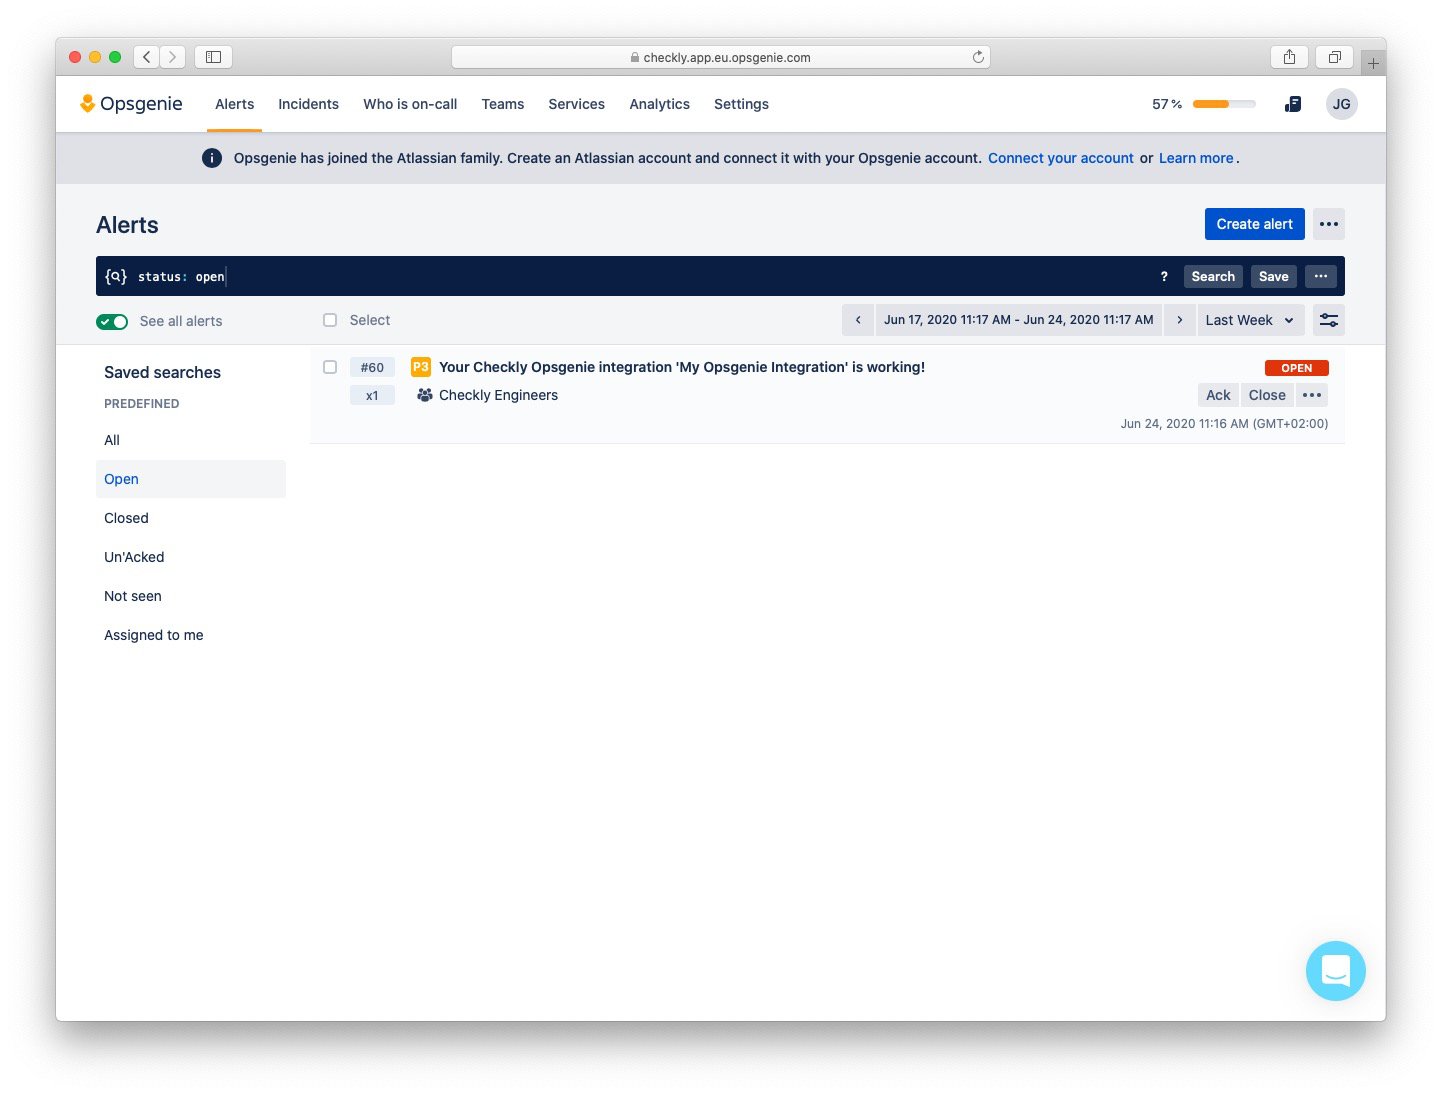 Congratulations! You have successfully integrated Checkly with your Opsgenie team.